
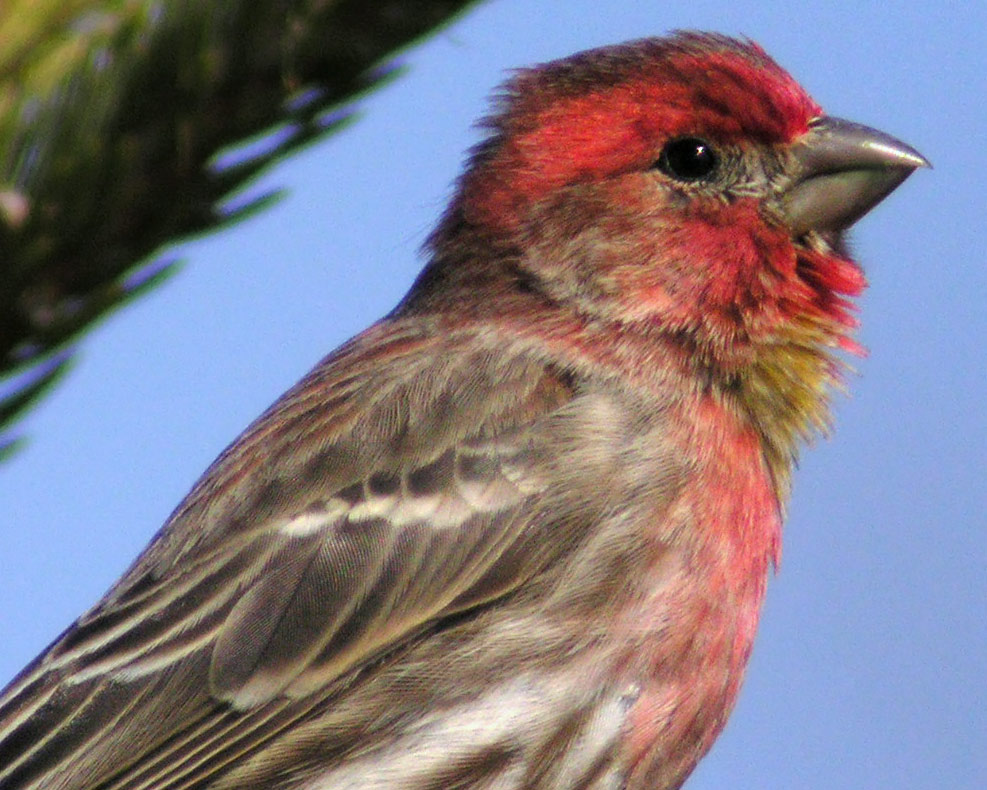
Original crop (click for larger version)
I always sharpen my digiscoped images for web presentation, and for good reason, as I hope to demonstrate in this blog post. The House Finch image above is an unprocessed crop of the original .JPG file captured with my Nikon Coolpix 8400 and Swarovski 80HD scope. You can see from this particular section how much feather detail the exposure captured. (Digiscoping is impressive, isn't it?)
This next image was resized with no sharpening from its original 2592x1944 pixel resolution down to 950x713, which is a size I often use for my website. Sure, it looks pretty good, but a lot of feather detail was lost in the resize step.
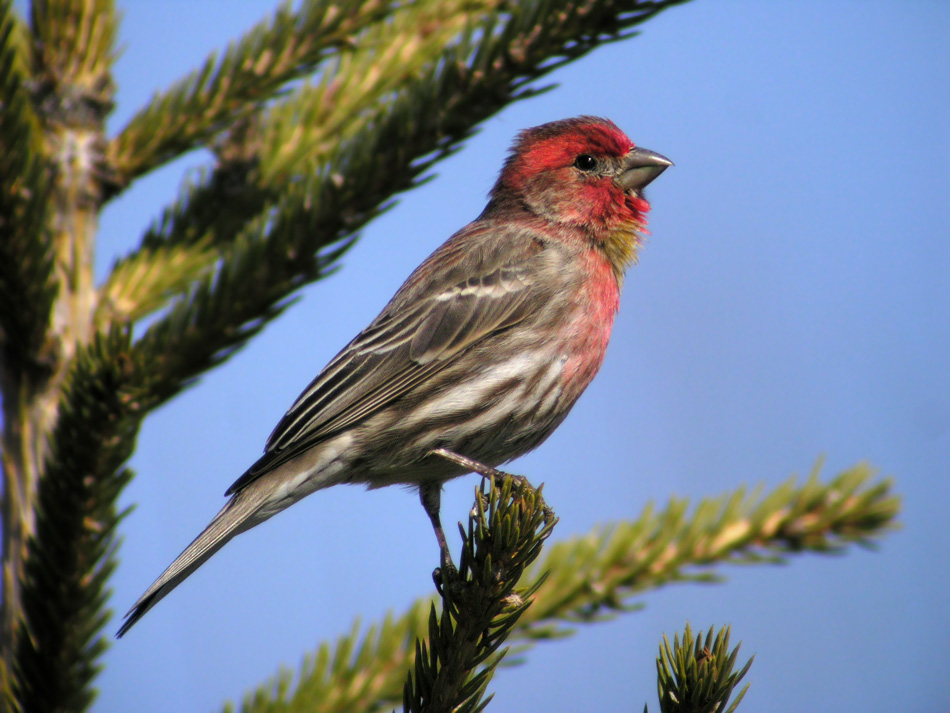
No sharpening (click for larger version)
In this last image, I started with the original image, but did a slight Unsharp Mask, then resized the image down by 50%, applied a Smart Sharpen value of 18, resized one last time down to 950 pixel width, and did one final Smart Sharpen. Now compare this image to the previous one (open them in separate tabs and go back and forth). It makes a pretty noticeable difference, doesn't it?

Sharpened (click for larger version)
In conclusion, the original full resolution capture of the finch contains maximum detail, but it was lost in a single resize step. Try sharpening a little as you resize images; I think you'll like the results. However, be mindful to avoid over-sharpening an image that feather structure looks jagged or smooth areas overly pixilated. Again, I only follow this sharpening technique for web presentation. When I print images, I use the highest resolution image for maximum print dpi.
All images © 2011 Mike McDowell